Photovoltaics is one of the fastest growing industries. The popularity of home solar power plants is so high that the number of micro-systems in Poland increases exponentially. However, in order for the installation to work reliably for 25 years or more, it is necessary to choose and install components correctly. What is the process of designing and mounting a PV installation and why is it worth choosing an experienced installation company? Photovoltaics step by step.
The adventure with photovoltaics in each case begins the same way – with determining the needs of a particular household or company. The easiest way to do this is to analyse your annual electricity bills. This way you will find out how large an installation will cover your needs and allow you to become independent from rising electricity prices. It is also worth considering additional needs, such as replacing a coal boiler with a heat pump or a combustion engine car with an electric one. Your own micro photovoltaic system allows you to save on many levels, not only on electricity
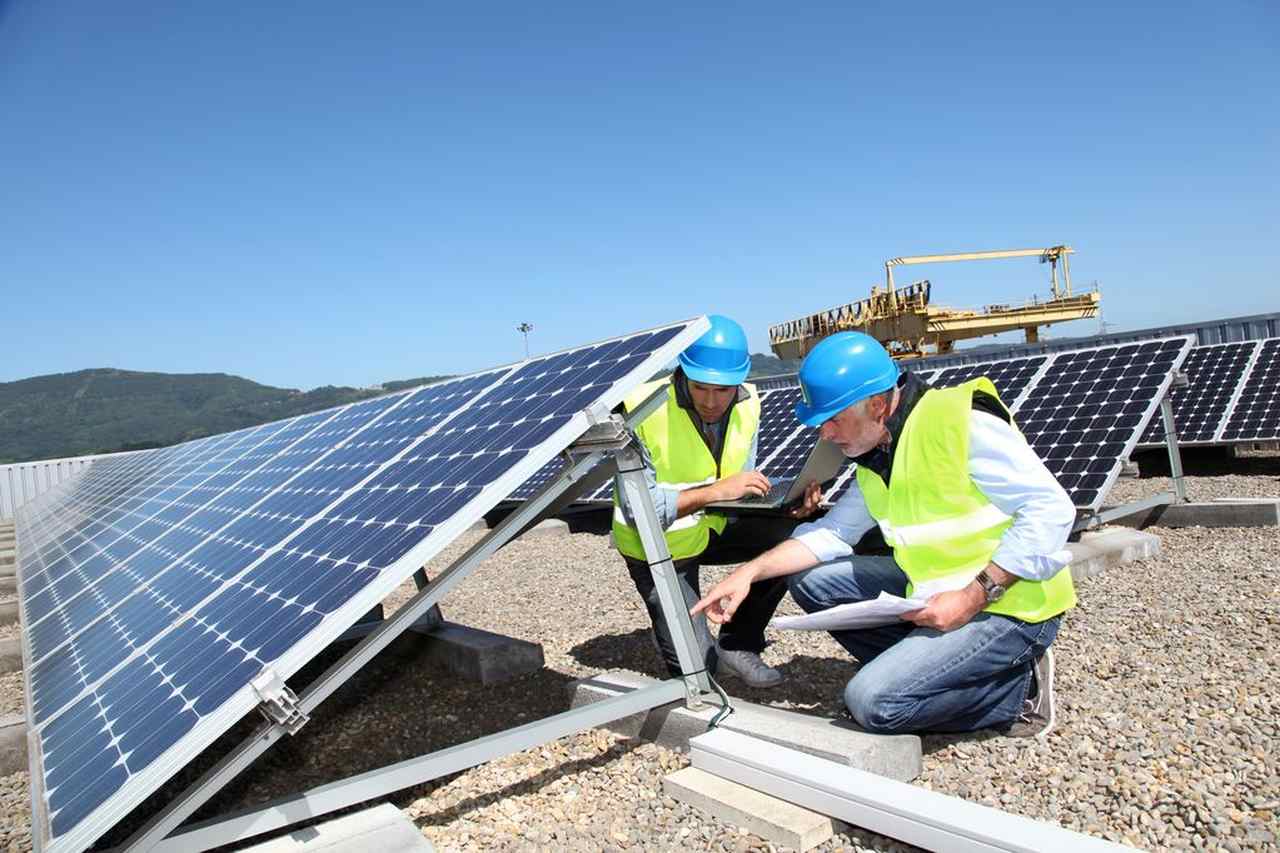
Knowing the needs of the householder, it is necessary to analyse the possibilities regarding the construction of the system. The most common choice is to install photovoltaic panels on the roof of the house or garage, but you can also opt for a ground-mounted installation. The latter is more expensive, but gives greater flexibility in adjusting the direction or tilt of the panels. The design of a photovoltaic system is best commissioned to a specialist with a SEP license (Association of Polish Electrical Engineers; SEP).
With the help of specialised software, such as PV SOL, the designer will prepare a project for a photovoltaic system on the house, taking into account all its details: dimensions, type of roofing, roof truss structure or location of obstacles such as chimneys, roof windows and bay windows. Interestingly, in most cases this can be done without a site visit, based on satellite images. After analysing the direction of roof exposure, as well as its inclination, the designer will place panels on particular slopes in order to obtain the highest possible power yield. Southern exposure is the most common choice, but in some cases an east-west installation is preferable, widening the window of power production in the morning and evening.
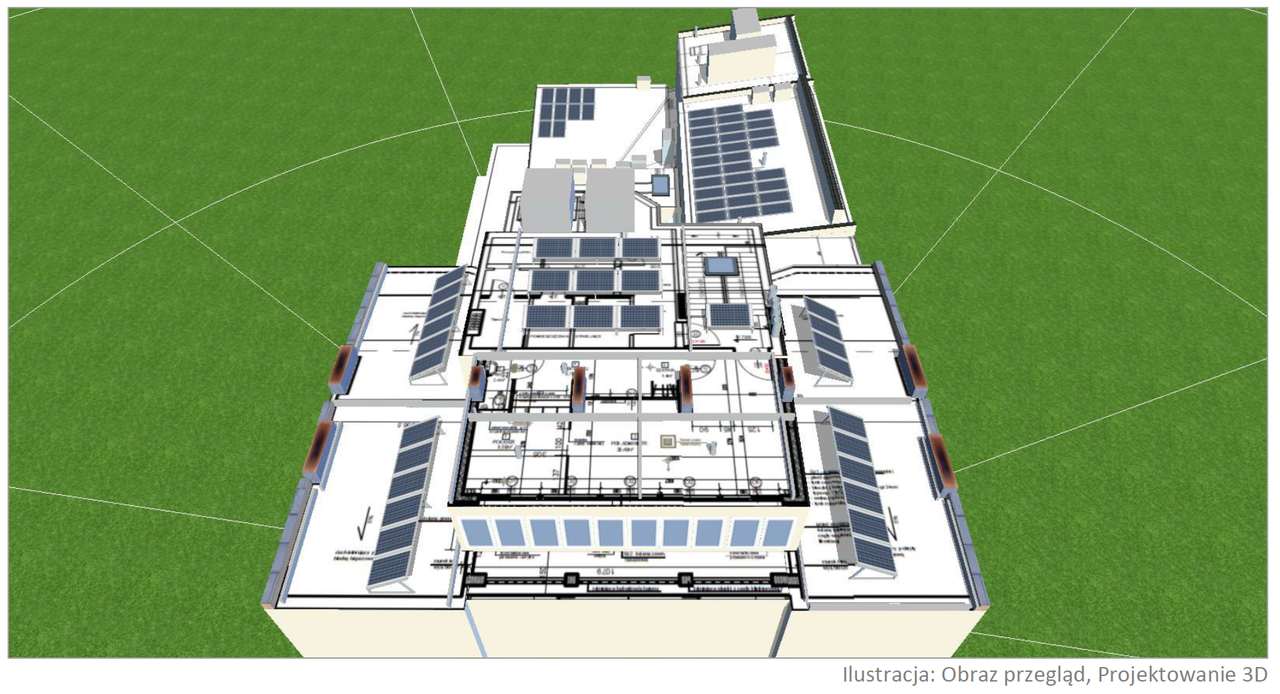
Once the solar panels have been initially positioned on the roof, the power of the modules needed to meet demand and the estimated electricity production are calculated. This also requires the use of PV design software such as the popular PV SOL. The estimates take into account not only the power of the panels themselves, but also the conditions for the specific location: temperature, insolation, shading or snowfall. The next step is to design a detailed layout of the panels, cable routes, inverter and protections, including the type of connections. The designer must consider a number of factors, including ventilation of the inverter and modules, limitation of cable length on the DC side and the quality of the connections. It is the compatibility of the connectors or the quality of the fixtures that in many cases determines the safe use of the photovoltaic system. A detailed electrical diagram of the PV micro-system also helps to choose the efficiency of the inverter and the types of protection
An extremely important part of assembling a photovoltaic system is choosing the right cabling and routing it correctly. The starting point is of course high quality cables, which must meet appropriate standards and norms. They should be resistant to solar radiation, moisture, mechanical damage and high and low temperatures. Cables for photovoltaics must maintain their parameters both in forty-degree frost and at 90°C. It is also necessary to take into account the power of the installation and possible voltage drops. A voltage drop of 1% is most often taken into account.
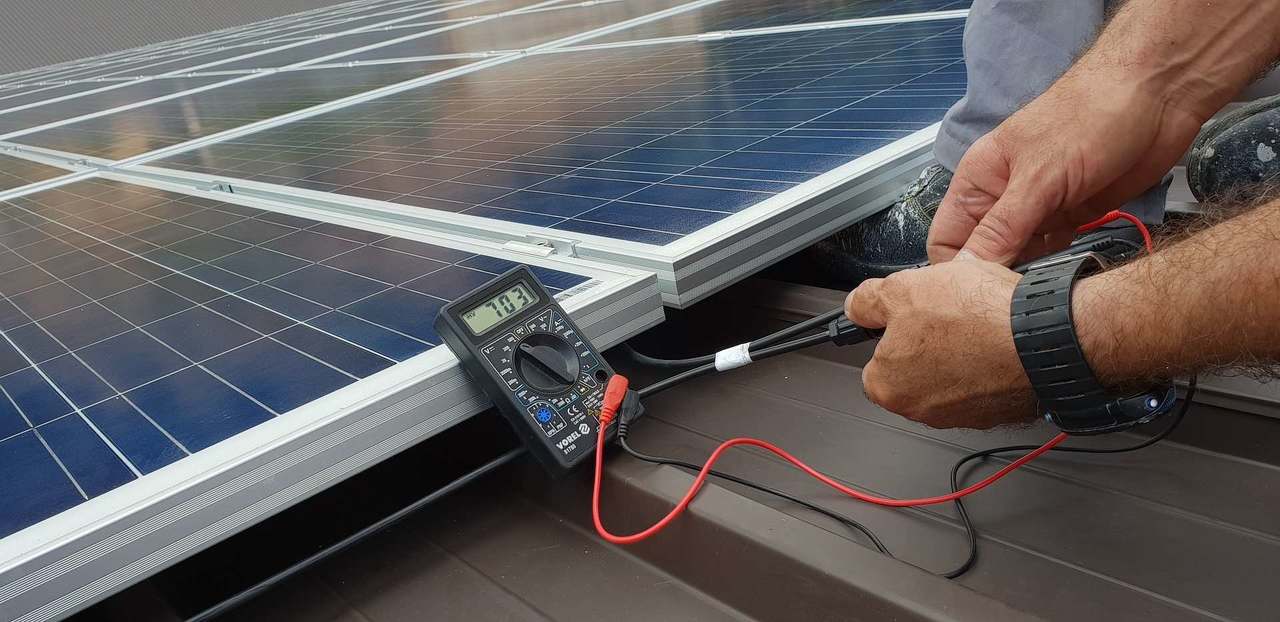
However, even the best cables will not ensure safety if they are routed incorrectly. The most common mistakes are too much tension in the cables and running them near hot or sharp elements. Then it is easy to burn or cut the sheath. Properly fixed cables should not move or vibrate in the wind, because this can also lead to abrasion of the insulation or even break the circuit. It is often necessary to run cabling using electrical trays (especially on flat roofs where a support system for photovoltaic panels is used). No less important is proper insulation of cables and tightening of connectors to avoid accidental short circuits. The design of cable routes also helps to avoid induction loops.
In many cases, a domestic photovoltaic system must have lightning protection. A lightning strike of 50 kA and tens of millions of volts on unprotected photovoltaic panels could end in a fire or damage to electrical equipment. By earthing the PV system, leading discharges to the ground, this risk can be avoided.
Two types of lightning protection are used for PV micro-systems: external LPS and internal LPS. The external grounding system directly receives the electrical energy from the lightning discharge. It consists of interception rods, earthing wires and an earthing conductor. Additional protection against electric shock and fire is provided by an internal earthing system to prevent sparks in the building. This is taken care of by equipotential bonding and insulation distances between the LPS and conductive internal objects. How do you know if a lightning protection system must be installed in a building? This requires determining the lightning strike risk for the location in question and establishing a safe area, e.g. using the protective angle or rolling ball method. On this basis, the lightning protection level, from I to IV, is selected. The photovoltaic designer will also determine the number and positioning of the interception rods on the roof slope.
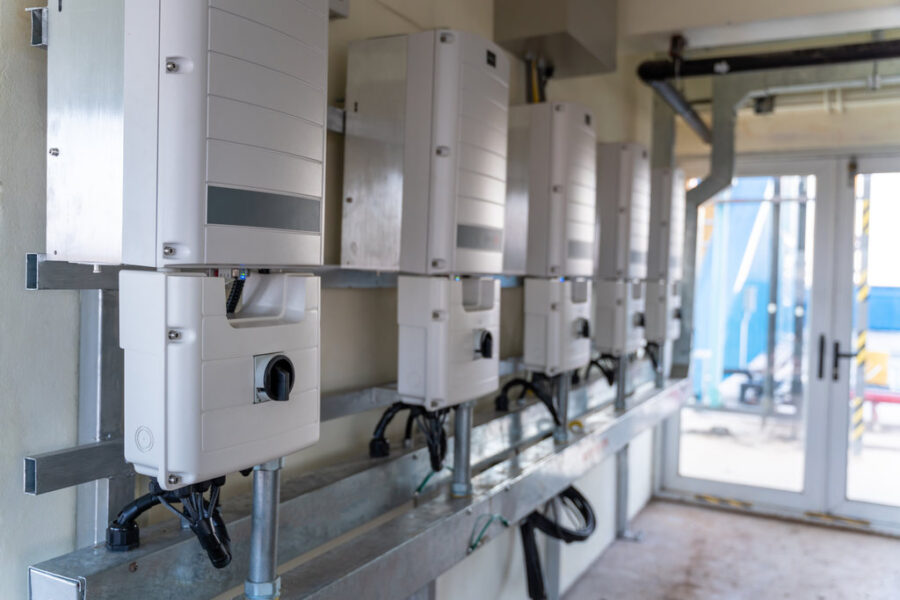
Locating an inverter, converting direct current into alternating current, is not difficult. It is only necessary to remember a few guidelines which will protect the device from damage. First of all, the inverter should be placed in a cool, shaded and well-ventilated room. The inverter generates heat during operation, so constant access to air is essential. An obvious choice is a boiler room, utility room or garage. It is important to ensure that there is good access to the device so that it can be quickly disconnected from the power supply. On the other hand, the room should not be easily accessible for children.
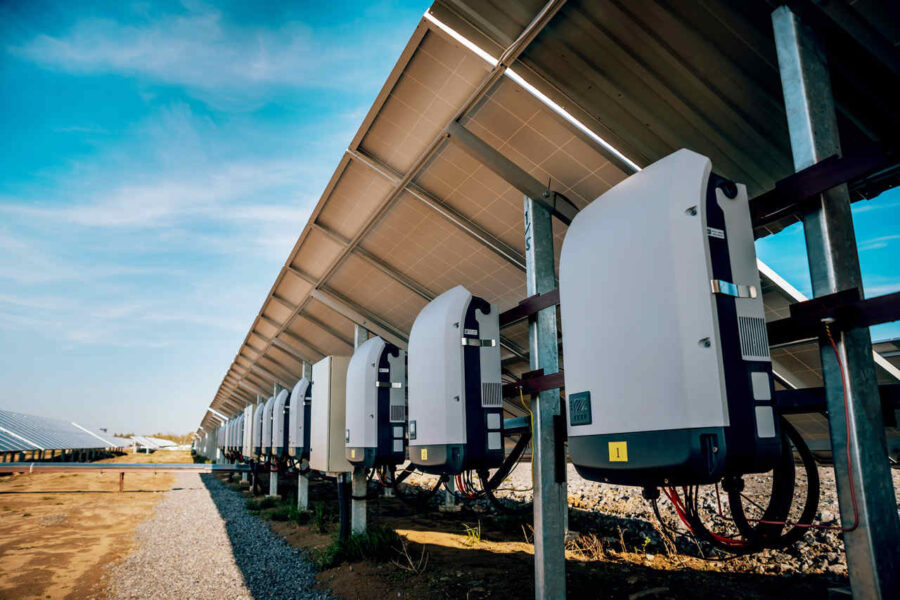
In the case of ground-mounted photovoltaic systems, the inverter is mounted directly under the panels. A special construction of steel or aluminium profiles is then made to stabilise the device. The maximum deviation from the vertical is 15 degrees. The inverter mounted outdoors must have a water and dust resistance rating of IP65 or higher. However, do not forget to shield the inverter from weather conditions such as rain, snow, hail or sunlight. Long-term exposure significantly reduces the service life of the components.
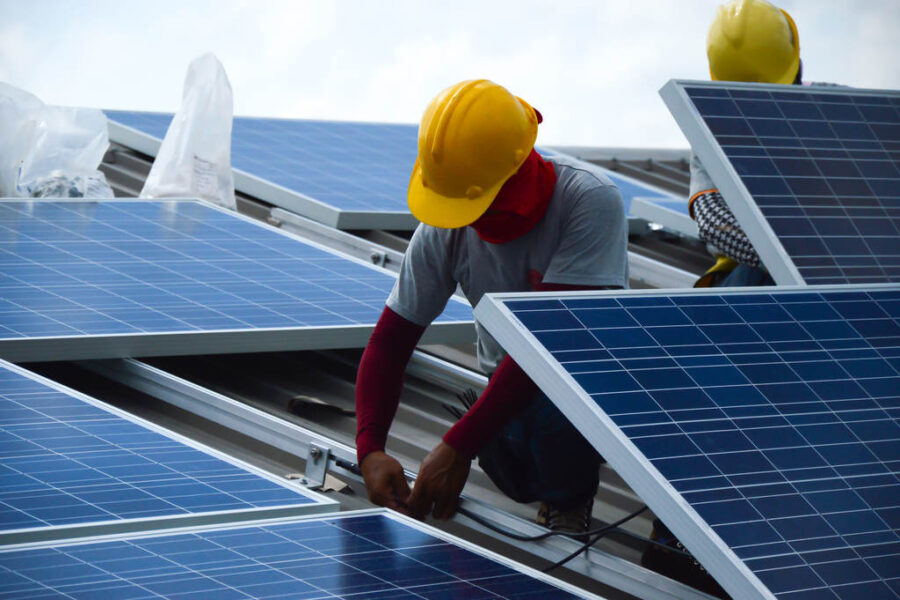
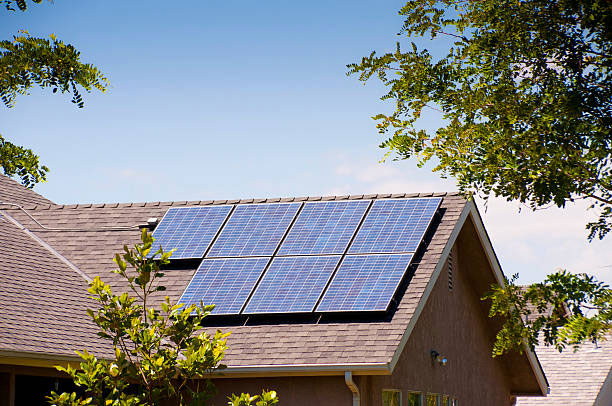
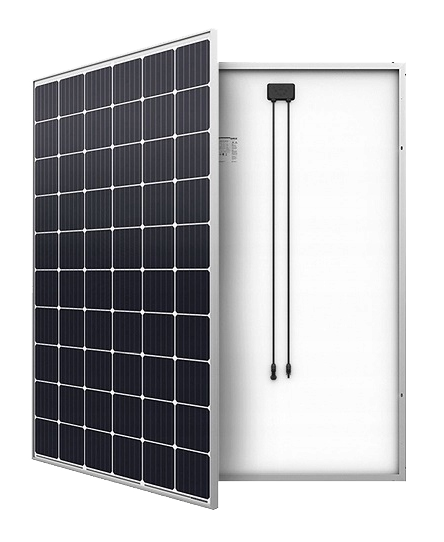
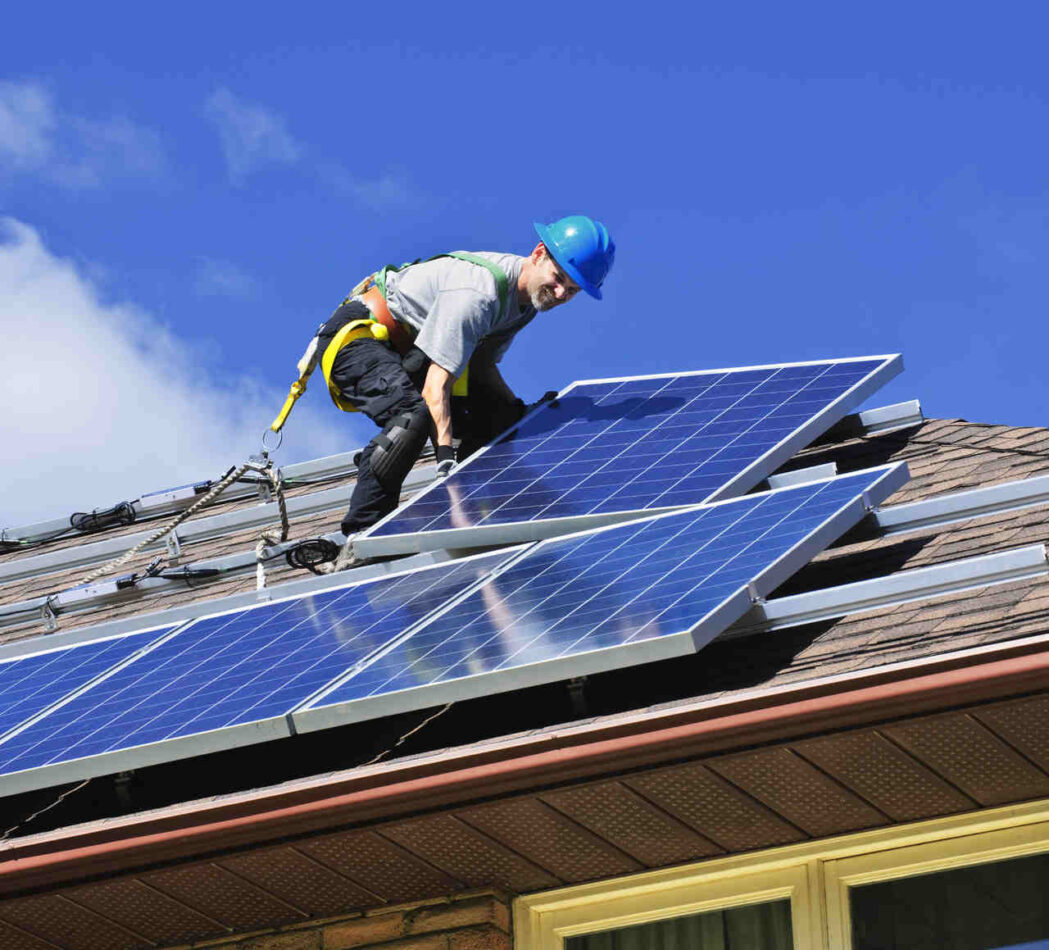
Photovoltaic panels can be mounted on the ground, on the roof or even on the wall. In the first case, special frames (tables) are used, made of aluminium or galvanised corrosion-resistant steel. Depending on the conditions, the frame has one or two rows of supports. Thanks to a large degree of freedom in setting the direction and angle of inclination of the PV modules, as well as excellent ventilation, ground-mounted micro-systems are characterised by higher power yields than roof-mounted structures. However, the location of photovoltaic panels on the roof has a huge advantage: lower price. Instead of expensive racks, roof installations only need mounting rails and special mounting brackets. In addition, panels mounted on the roof are the most aesthetic and do not take up valuable space in the garden. Mounting systems are selected based on the type of roofing material: tile, ceramic tile, trapezoidal metal sheet, standing seam metal sheet, etc. Any holes drilled in the roof slope must be well sealed.
If the panels are to be mounted on a flat roof, supportive mounting structures are used. Interestingly, these do not need to be fixed directly to the roof. Intrusive systems for fixing photovoltaic panels are obviously the safest and most secure, but ballasted systems are a reasonable alternative. Racks loaded with concrete blocks provide sufficient stability, but increase the weight of the structure. Before installing this type of photovoltaic, it is therefore worth considering the maximum load on the roof. A solution to this problem may be to weld the straps securing the frame directly to the roof membrane.
Photovoltaic systems mounted on walls are rare in Poland. They are used when there is no possibility to mount panels on the roof, e.g. when it is too shaded and there is no space on the plot for ground installation. Photovoltaic panels can be mounted vertically, directly to the wall, but higher power production is ensured by frames. Thanks to them, you can position the modules at the best angle, about 30-40 degrees.
The last stage of photovoltaic system is connecting to the grid. Most installations mounted in Poland are on-grid systems, i.e. fully cooperating with the distribution network. This means that surplus electricity produced is not stored in energy stores, but given back to the grid. On the basis of the current discount system, 80% of the energy can be collected for own needs at a later time (70% for installations with a capacity above 10 kWp). The registration of the photovoltaic micro-system is necessary to become a prosumer and to settle accounts with the distributor on a net-metering basis. If the building is already connected to the grid and the capacity of the PV system does not exceed the connection capacity, a connection based on notification is sufficient. It’s a simple process, but requires the collection of documentation for the energy company. Fortunately, each installation company prepares a full package of documents and even submits the application itself. The key is the certification of the components – inverters and photovoltaic modules – so it makes sense to use a reliable source. All products you will find in the Solmix photovoltaic wholesaler have the required certificates and approvals.
Within 30 days, the energy distributor checks the application and, if necessary, replaces the meter with a two-way meter. Cooperation with the operator is regulated by a contract, in which the conditions for energy resale and distribution are defined. The required documents for the application are: the installation diagram of the facility, technical data of the installation, equipment certificates and a printout from the National Court Register or the CEIDG. If an installation company submits the application on behalf of the applicant, a power of attorney is required.
Want to know more about designing photovoltaic systems? Read What‘s a photovoltaic inverter.
Our offer
Useful
Shop